You can help support this website by buying me a coffee!

In this guide, we will add Proxmox VirtIO drivers to the Windows ISO image, so they are available during installation. Without these drivers, Windows setup won't recognize the virtual storage device or hard disk.
This example is for adding drivers to a Windows 10 ISO. The steps will be the same for Windows 11 or Windows server.
Download the latest VirtIO drivers
https://fedorapeople.org/groups/virt/virtio-win/direct-downloads/stable-virtio/virtio-win.iso
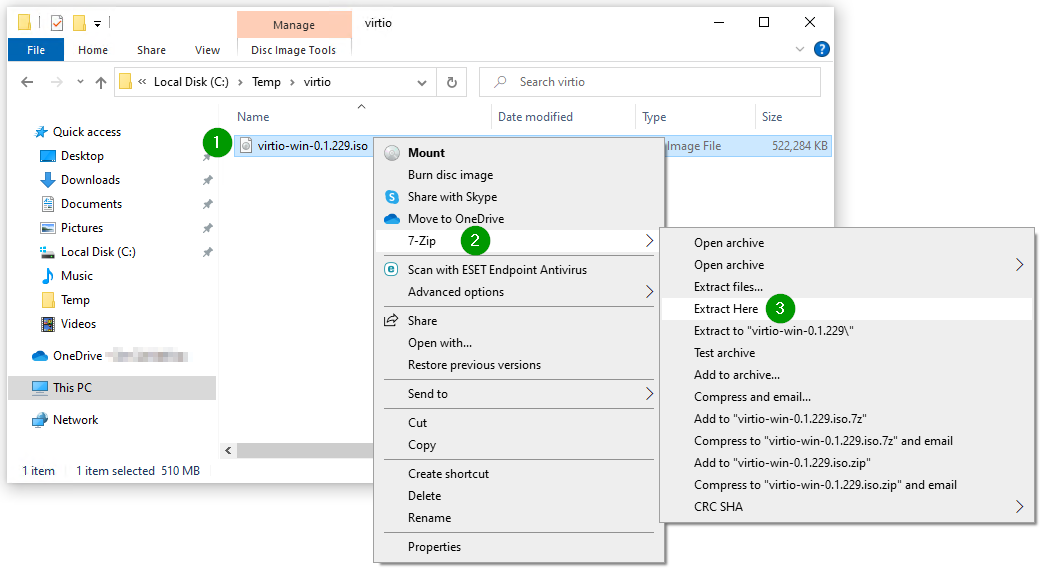
Extract the downloaded VirtIO ISO using 7-Zip to C:\Temp\virtio
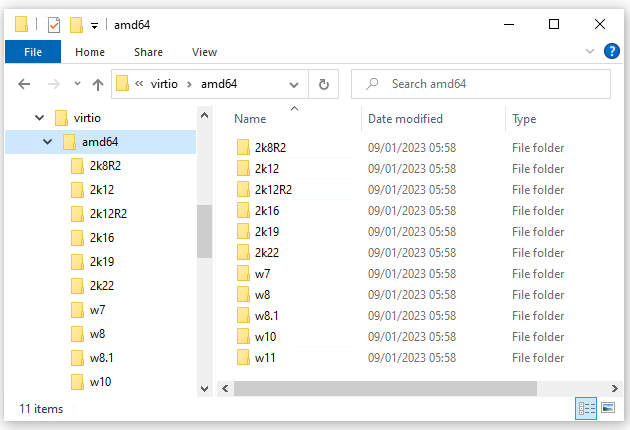
VirtIO SCSI
C:\Temp\virtio\amd64\w10
C:\Temp\virtio\amd64\2k19
D:\vioscsi\w10\amd64
D:\vioscsi\2k19\amd64

VirtIO Ethernet
D:\NetKVM\w10\amd64
D:\NetKVM\2k19\amd64

VirtIO Serial Driver
D:\vioserial\w10\amd64
D:\vioserial\2k19\amd64

VirtIO Balloon Driver
D:\Balloon\w10\amd64
D:\Balloon\2k19\amd64
Edit the Windows 10 ISO file and add the virtio drivers
Open the Windows ISO with an ISO editor. In this example, I'm using Power ISO
Create a new folder called drivers

Open the drivers folder - Add files and folders

Add the extracted VirtIO drivers folder C:\temp\virtio

Save the ISO

Comments